


⚡
Fast Installation
Prep the wire, insert it, heat evenly, and let the connection cool.
Waterproof wire connections in 30 seconds - no iron, no crimping.
Real solder joint - no crimp to vibrate loose
IP67 sealed both ends - bay, bilge, washdown
Couldn't load pickup availability


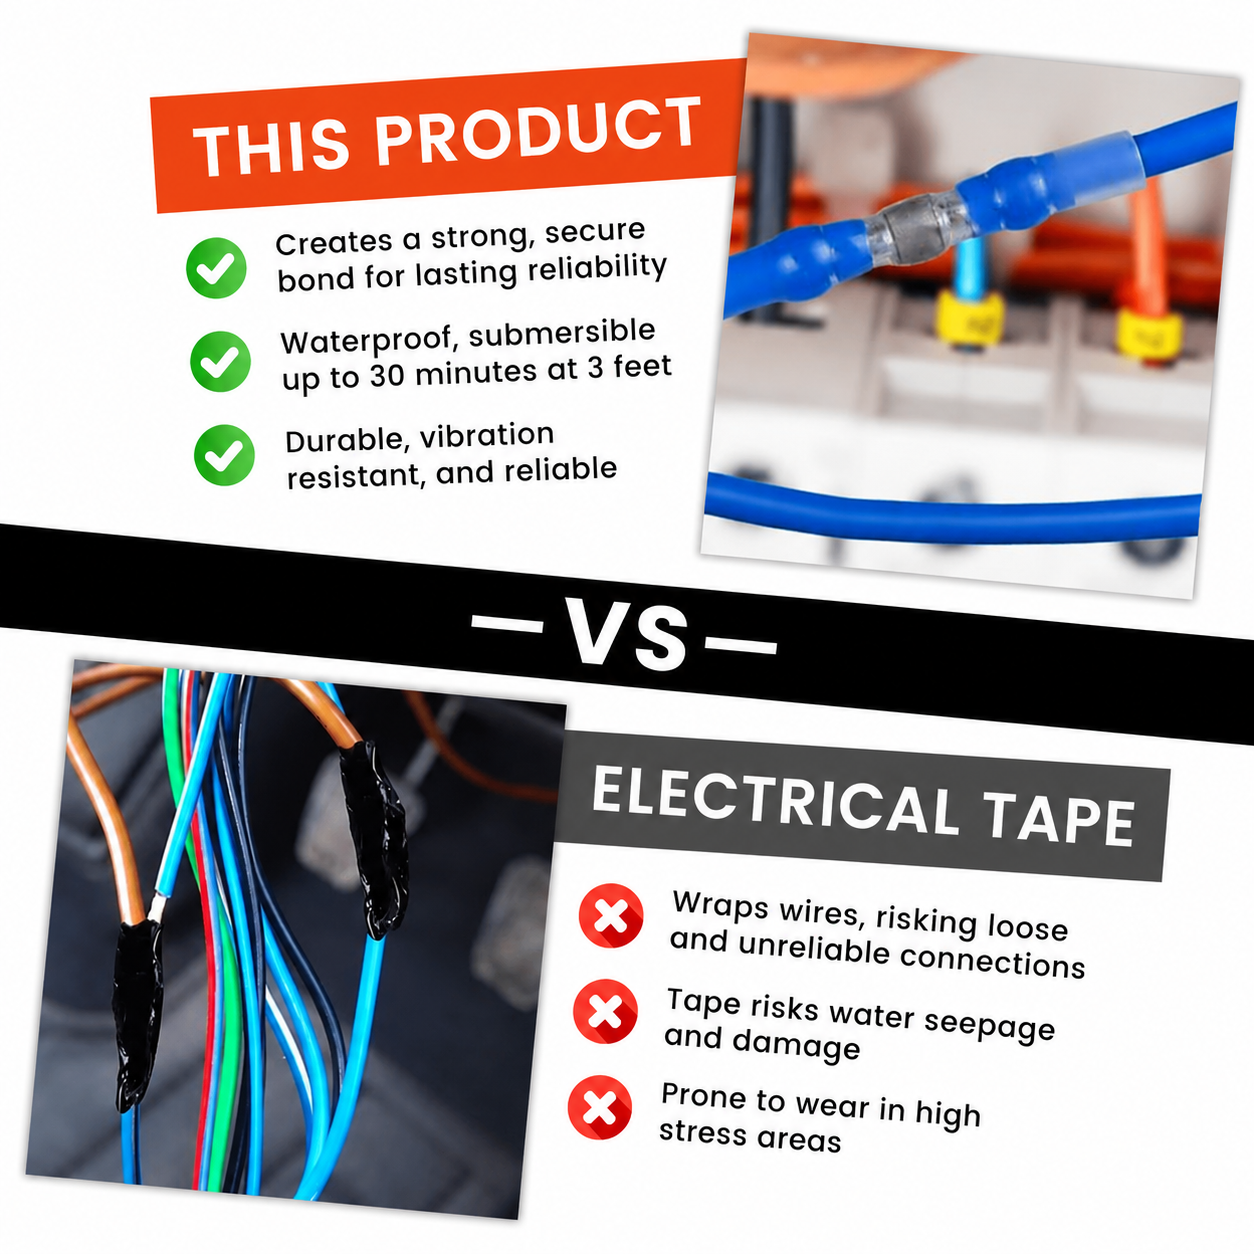

Skip the awkward crimping and messy solder setup. Slide the stripped wires into the sleeve, apply even heat, and create a compact connection that solders and seals at the same time.
Strong electrical joint
Internal solder melts around the conductor.
Sealed ends
Heat-shrink tubing helps lock out moisture and dirt.
Color-coded sizing
Choose the right sleeve faster for common wire gauges.
Everything happens inside one transparent heat-shrink sleeve, so you can see the solder flow and the seal form.
Prep the wire, insert it, heat evenly, and let the connection cool.
Adhesive-lined ends shrink tightly around the wire insulation.
The center solder ring melts into the conductor for a firm connection.
Color-coded sleeves help you quickly identify compatible wire ranges.
Useful for automotive, marine, lighting, audio, home and hobby wiring.
A straightforward option for repairs where space and access are limited.

Strip approximately 1/3 inch (8–10 mm) of insulation from both wire ends.

Slide both wire ends into the sleeve and position the joint under the center solder ring.

Rotate the connection while heating until the tubing shrinks and the solder visibly flows.

Allow the joint to cool completely, then check that the seal is tight and the wire is secure.
Choose the kit size that matches the jobs you do most.